
Pruning Junipers in the UK: When and How to Trim for Healthier Growth
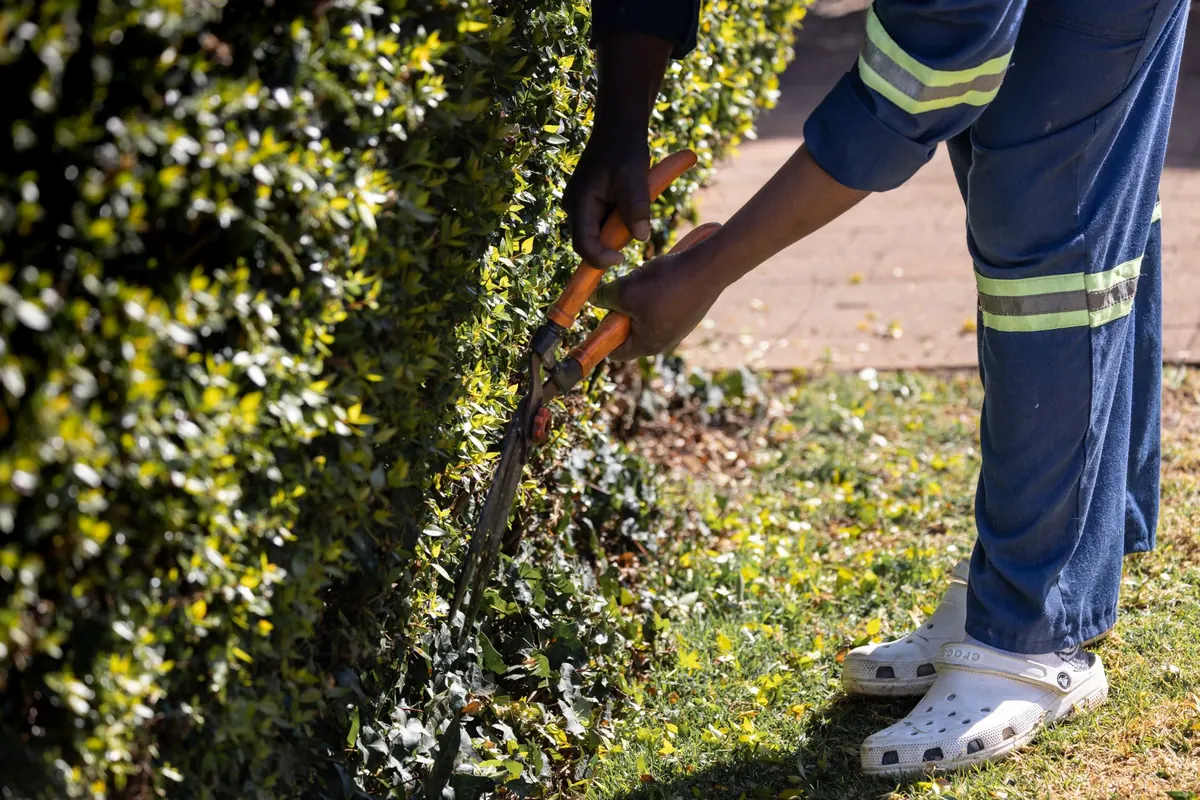
Junipers shrug off sea wind, thin chalk soils and hard frosts. What they do not shrug off is careless pruning. Cut in the wrong place and the damage stays visible for years, because most junipers cannot regrow from old, leafless wood. Pruning them well is not difficult, though. It asks for the right timing, a little restraint, and a sharp pair of secateurs.
Know how your juniper grows before you cut
Junipers come in a handful of distinct shapes. There are the pencil-thin columns, such as Juniperus communis 'Hibernica' and Juniperus scopulorum 'Skyrocket'; the low spreaders, including Juniperus horizontalis; and the bushy, mid-sized shrubs — the Juniperus × media sorts — that make relaxed informal hedges. The native Juniperus communis is slower and gnarlier, and usually best left largely alone.
The shapes differ, but the growing rules do not. New shoots appear only from green, needled growth. Once a branch has browned and dropped its foliage, it rarely produces anything new. Cut into that bare zone and you have made a permanent hole rather than a temporary one.
That single fact drives everything below. Stay within the green, work with the natural shape, and prune less than you think you should.
Hedging junipers are a partial exception. A young, vigorous Juniperus × media hedge will sometimes break from older wood after a hard cut, but treat that as a bonus rather than a promise.
Why junipers are different from box or yew
Yew and box can often be cut back hard into old wood and will still throw new shoots from latent buds. Junipers do not carry that insurance. They are conifers, and most garden junipers have very little ability to replace growth from bare stems. This is why an overgrown juniper is so much harder to renovate than an overgrown privet or holly. The safe approach is to keep the plant within its green zone from the start, rather than trying to rescue it after a severe cut.
Growth rates and what they mean for pruning
Growth rate varies widely. In the UK, a vigorous Juniperus × media may add 15–30cm a year once established, while a native Juniperus communis might manage only 5–10cm. Slow-growing junipers need very little pruning; fast-growing hedging types may need an annual trim to stay neat. Knowing the rate helps you judge how much to remove. On a slow grower, even a few centimetres can look drastic for months. On a vigorous hedge, a light trim in early summer is usually enough to keep the line crisp without exposing bare patches.
When to prune junipers in the UK
Timing matters more than it does with most evergreens, because junipers heal slowly.
Late spring to midsummer: the main window
From roughly late April, once new growth has extended a few centimetres, until mid-July is the sweet spot. In June, a juniper is actively growing and a cut made just above a side shoot will callus over quickly. In colder, wetter parts of the UK, finish by mid-July; further south you can stretch to the end of the month. Light tip-pinching can continue into August without harm.
Why autumn and winter are best left alone
Cuts made from September onwards sit open through the damp, cold months. They do not seal properly, and that is when dieback and fungal trouble get a foothold. Frost also damages the tissue around a fresh wound. If a branch snaps in a winter gale, tidy it back to a live shoot, but save planned shaping for spring.
Hot, dry spells and wet days
A juniper under drought stress has little energy to spare for healing. Wait for cooler weather, or water the plant thoroughly for a week before cutting. Equally, avoid pruning in steady rain, which spreads spores from cut to cut.
A note on topiary and tight hedges
If you are clipping a juniper into a tight formal shape, little and often is safer than one heavy annual cut. Start in late spring, once the risk of hard frost has passed, and take only the soft new growth. A second light tidy in August can keep the outline sharp, but stop early enough for the cuts to harden before autumn. For cloud-pruned or niwaki-style junipers, work slowly over several seasons, opening up the branch structure rather than shearing the surface.
A simple pruning routine, step by step
- Sharpen and clean your tools. Wipe blades with methylated spirits before you start, and again between plants if disease is a possibility.
- Step back and decide what you actually want: a tighter hedge line, a clearer trunk, a balanced shape, or one stray shoot removed.
- Take out dead, damaged and diseased wood first. It makes the job in front of you much clearer.
- Thin any crossing or congested branches, cutting back to a side shoot.
- Trim the outline, making each cut just above a healthy shoot and angled slightly away from it.
- Stop before you reach bare wood, and step back every few cuts to check the shape.
Secateurs handle shoots up to about a centimetre. Use loppers for thicker branches and a pruning saw for anything substantial.
Making a clean cut
Hold the shoot steady and cut about 3–5mm above a side shoot or cluster of needles. Angle the blade so the cut faces slightly away from the bud you are keeping. A long stub is a liability: it dies back, looks untidy, and can allow disease into the stem. If you are shortening a branch, always cut back to a live side shoot, never into the middle of a bare length of stem.
Tools for the job
By-pass secateurs give the cleanest cut because they slice like scissors. Anvil secateurs crush the stem, which is the last thing a slow-healing juniper needs. For branches thicker than your thumb, use loppers or a pruning saw. Keep a small wire brush or cloth and a bottle of methylated spirits handy if you are working on more than one plant, especially where disease is suspected.
Removing dead, diseased and damaged growth
This is the one job you can do at almost any time of year, and the one you should never put off. Cut back to clean, green growth, and bin the prunings rather than adding them to the compost heap.
Watch for juniper tip blight, where shoot tips die back through summer. Prune well below the affected area into healthy wood, do it on a dry day, and sterilise your tools afterwards. Rust diseases, which show as orange galls on shoots in spring, spend part of their life cycle on pear and hawthorn; cutting out affected shoots helps, but keeping junipers away from a rust-prone pear tree in the first place helps more.
Disposing of prunings
Diseased prunings should be burned or put in the council green waste, not composted at home. Healthy juniper prunings can be shredded and composted, but they are slow to break down and quite resinous. Chopping them smaller helps. If you have used tools on an infected plant, clean them before moving on to healthy junipers.
Five rules that prevent bare patches
- Never cut past the green. If a shoot has no needles, it will not resprout.
- Work little and often. Removing a quarter of the season's growth is plenty; anything more invites holes.
- Cut to a side shoot, never into the middle of a bare stem.
- Prune evenly around the plant. Taking half a metre off one side and nothing off the other leaves a lopsided shrub that never balances out.
- Keep shears sharp. Crushed, torn shoots die back and leave an ugly, ragged edge that can turn into a bare patch.
If you cannot see green growth where you want to cut, do not cut there.
Aftercare: helping junipers recover
A juniper that has just been pruned does not need much fuss, but a little aftercare helps it seal cuts and push new growth in the right places. The main thing is to avoid adding stress. Do not follow a heavy trim with drought, waterlogging, or a late feed that encourages soft growth into winter.
Watering and mulching
In dry weather, water thoroughly around the root zone once a week rather than giving little daily sprinkles. A mulch of well-rotted organic matter or bark chips will conserve moisture and suppress weeds, but keep it a few centimetres clear of the trunk. Junipers dislike sitting in wet, airless soil, so do not mound mulch around the stem.
Feeding
Junipers are not hungry plants. A light balanced feed in early spring is usually enough for young or container-grown specimens. Do not feed heavily after pruning, and avoid high-nitrogen fertilisers in late summer, which can push soft growth that will not harden before frost. Established garden junipers in reasonable soil often need no feeding at all.
Special cases: hedges, columns and mature junipers
How you prune depends on the shape you are growing. A formal hedge needs a different approach from a specimen column or a low ground-cover spreader.
Shaping a column
Columnar junipers look best when their natural vertical line is respected. Do not cut the leader unless it is damaged. If the tip is broken, tie in a strong side shoot and train it upward to replace the leader. Trim side shoots lightly in early summer, keeping the base slightly wider than the top so light reaches the lower branches.
Keeping a low spreader in bounds
Ground-cover junipers can be tidied by cutting back the longest trailing shoots to a side branch. Avoid shearing the top flat, which exposes the brown centre and leaves a permanent bare patch. Instead, reach into the plant and shorten individual wayward shoots. This takes longer but keeps the plant looking natural.
Renovating an overgrown juniper
Renovation is only realistic where there is still green growth low down. You can remove one or two of the oldest crowded stems at ground level to let in light, but do not cut the whole plant back hard into bare wood. If a hedge or shrub is entirely brown inside and green only at the tips, there is no reliable way to force it back from the old framework. In that case, replacement is usually the kinder option.
Prune with the plant's limits in mind, and a juniper will reward you with dense, healthy growth for decades. Push it too far, and it will remember. The best cuts are the ones you hardly notice you made.
Photo: Magda Ehlers / Pexels